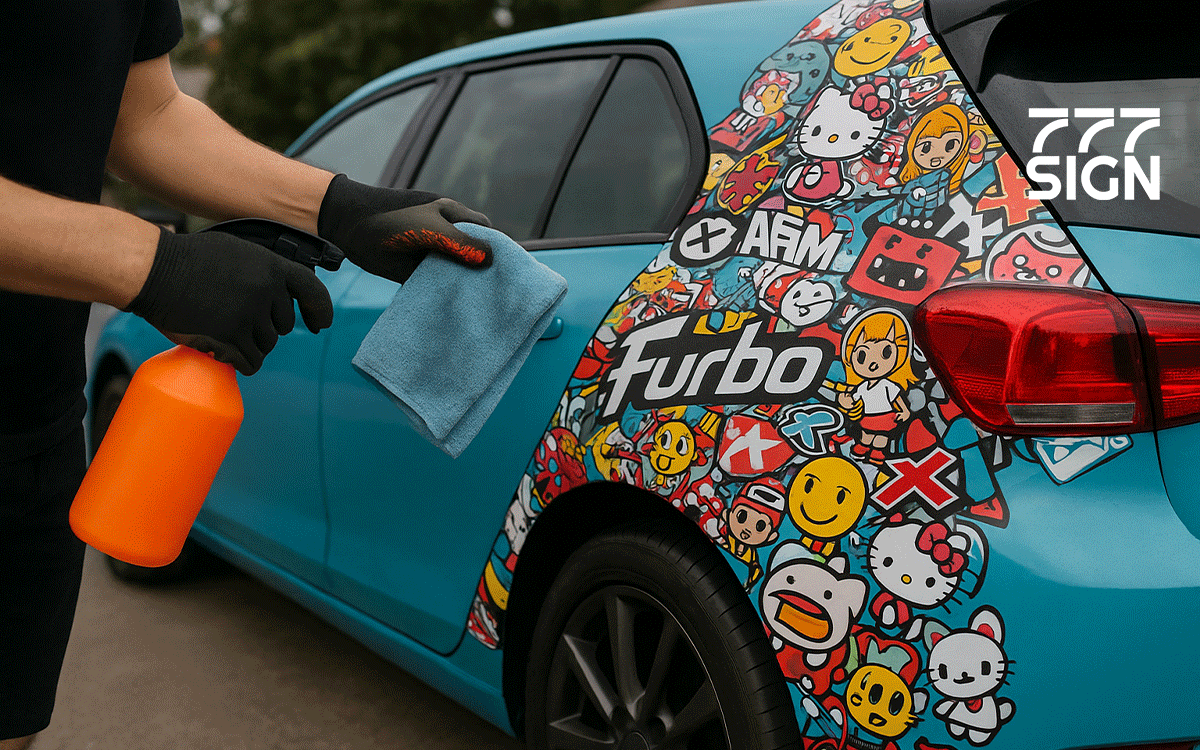
Your car's vinyl stickers, door decals, and custom wraps are more than decorative—they're a statement of style that deserves proper care. Whether you've got car vinyl stickers, vehicle vinyl decals, or personalized designs like custom vehicle stickers and personalized vinyl car decals, following a structured approach to protection ensures they stay vibrant and secure. Here's your comprehensive guide to maintaining car sticker decals and wraps, with clear do's, don'ts, and solutions for common issues.
一、Pre-Installation Prep: Lay the Foundation for Long-Lasting Adhesion
Do's for Vinyl Stickers & Decals
1. Choose High-Quality Automotive Vinyl: Opt for car vinyl stickers and decals made with UV-resistant, weatherproof materials. Look for products with a protective laminate layer to guard against fading, cracking, and moisture—critical for car sticker decals exposed to harsh conditions.
2. Clean Surfaces Thoroughly: Before applying door stickers for cars or car window decals, use a pH-neutral automotive cleaner to remove Wax, oils, and dust. Rinse with deionized water to prevent mineral deposits that weaken adhesive bonds.
3. Perfect Application Timing: Apply vinyl decals for cars at 15–30°C (59–86°F) in a shaded, dust-free area. Allow 24–48 hours for the adhesive to cure fully, especially for car vinyl sticker decals and complex wraps.
Don'ts to Avoid Early Damage
1. Skip Surface Preparation: Neglecting to prep older paint with a clay bar can trap contaminants under car vinyl and decals, leading to bubbles or peeling.
2. Use Household Cleaners: Avoid alcohol, ammonia, or vinegar-based solutions—they degrade vinyl and weaken adhesives in stickers for cars and automotive decals.
3. Apply to Wet Surfaces: Moisture under car stickers for cars causes adhesive failure. Always ensure the surface is arid before installation.
二、Daily Maintenance: Keep Your Decals Looking Fresh
Do's for Gentle Care
Wash with Caution
1. Hand wash your vehicle using a soft sponge and mild soap, moving toward car vinyl stickers to avoid lifting edges. Rinse with low-pressure water, keeping nozzles 30+ cm away from vinyl car decal stickers to prevent water intrusion.
2. Dry with microfiber towels to avoid scratches on vehicle vinyl decals—never rub aggressively, as this can damage protective laminates.
Regular Inspections & Protection
1. Check car sticker decals monthly for loose edges or bubbles. Press down the edges with a plastic squeegee; for small bubbles, pierce with a needle, release air, and smooth from the center.
2. Apply a vinyl-safe UV protectant quarterly to shield custom vehicle stickers and personalized vinyl car decals from sun damage and maintain their colour and gloss.
Don'ts to Prevent Wear & Tear
1. Use Automatic Car Washes: Brush-style washes risk peeling door stickers for cars and car window decals—opt for touchless washes or hand washing instead.
2. Apply Wax Directly to Decals: Most car waxes contain silicones that stain vinyl. Mask car vinyl and decals with painter's tape before waxing your vehicle.
3. Neglect Hard-to-Reach Areas: Clean behind door handles, wheel wells, and window seals to remove debris that grinds against automotive decals and causes micro-scratches.
三、Environmental Protection: Defend Against Extreme Conditions
Do's for Weather Resistance
Sun & Heat Defense
1. Park in shaded areas or use a car cover to protect vinyl stickers for cars and car vinyl stickers from prolonged UV exposure, the primary cause of fading in car sticker decals.
2. Consider adding a transparent protective film over vehicle vinyl decals in hot climates to enhance scratch and fade resistance.
Cold & Moisture Management
1. De-ice carefully with a plastic scraper (never metal) at a 45° angle to avoid damaging car window decals or vinyl car decal stickers. Avoid pouring hot water on cold vinyl, which causes cracking.
2. Wipe the door and window seals dry after washing or rain to prevent water pooling that degrades adhesives indoor stickers for cars and wraps.
Don'ts for Climate Survival
1. Ignore Contaminants: Rinse off-road salt, bug splatters, and bird droppings promptly—their corrosive properties damage the laminate of vinyl decals for cars and car vinyl sticker decals.
2. Install in Extreme Temperatures: Avoid applying stickers for vehicles in temperatures below 4°C (40°F) or above 32°C (90°F), as the adhesive will not bond correctly, leading to early failure.
四、Advanced Care for Custom & Specialty Decals
Do's for Premium Protection
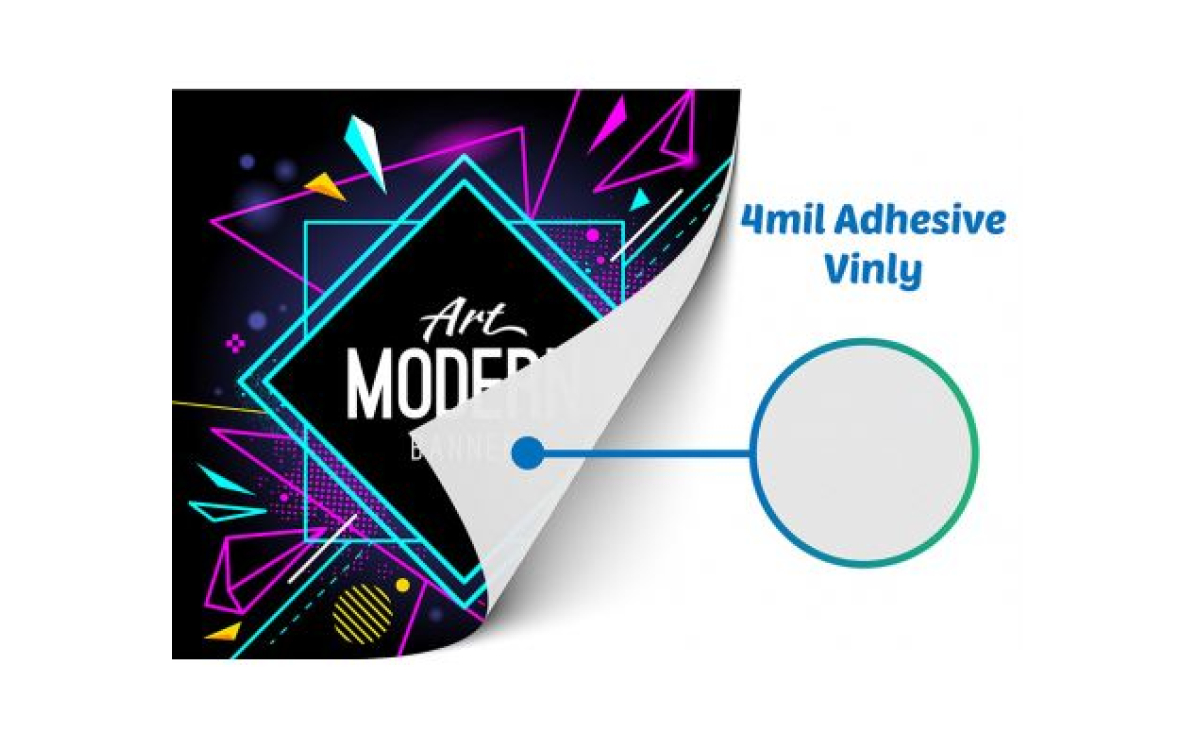
1. Professional Lamination for Wraps: For maximum durability, custom vehicle stickers and full wraps include a three-layer structure (adhesive, colour film, scratch-resistant topcoat). Ask installers to seal edges to prevent water ingress.
2. Annual Professional Detailing: Have car vinyl and decals deep-cleaned using vinyl-safe methods, followed by a protective coating to enhance hydrophobicity and UV resistance—ideal for personalized vinyl car decals with intricate designs.
Don'ts for Specialty Designs
1. DIY Complex Installations: Leave curved-surface applications or intricate car window decals to professionals—improper cutting creates weak points for peeling.
2. Add Heavy Accessories Over Decals: Avoid magnetic mounts or bulky stickers on vinyl stickers auto, as repeated removal scratches the surface or loosens adhesive.
五、Troubleshooting Common Issues: Quick Fixes for Car Decals
| Problem | Root Cause | Step-by-Step Solution |
| Edge Lifting on Decals | Poor adhesion or temperature shifts | 1. Heat the edge gently with a low-heat hairdryer to soften the adhesive. 2. Apply a small amount of automotive-grade adhesive along the edge. 3. Press firmly with a squeegee and weight for 24 hours. |
| Bubbles in Stickers | Trapped air during installation | 1. Pierce small bubbles (≤1cm) with a sterile needle to release air. 2. Smooth from the center outward with a plastic card. 3. Remove and reapply for large bubbles (>2cm). |
| Fading in Vinyl Decals | UV damage or chemical exposure | 1. Clean with a mild, vinyl-specific cleaner. 2. Buff gently with a non-abrasive polish. 3. Replace severely faded car sticker decals to protect the underlying paint. |
| Adhesive Residue | Improper removal or low-quality adhesive | 1. Heat residue with low heat to soften the adhesive. 2. Apply citrus-based remover and let sit for 5–10 minutes. 3. Scrape gently with a plastic tool, then clean with isopropyl alcohol. |
六、Removal & Replacement: Protect Your Paint Job
Do's for Safe Removal
1. Heat-Aided Removal: Use a heat gun on a low setting to warm the adhesive. Slowly peel vinyl decals for cars at a 45° angle to avoid paint damage. Work in sections for even results.
2. Post-Removal Prep: After removing old car stickers for cars, clean the surface with an automotive degreaser to remove all residue, ensuring a smooth base for new vinyl stickers or wraps.
Don'ts During Removal
1. Force Removal on Old Decals: Decals older than three years may bond tightly to paint, and aggressive pulling risks apparent coat damage. Consult professionals for large vehicle vinyl decals or wraps.
2. Reuse Low-Quality Stickers: Budget vinyl car decal stickers often leave a stubborn residue. Invest in premium products for easier removal and longer lifespan.
Conclusion: Preserve Your Car's Unique Style with Expert Care
By following these do's and don'ts for car stickers decals, vinyl decals for cars, and custom wraps, you'll ensure your vehicle's personalization stands the test of time. From proper installation of car window decals to proactive maintenance of personalized vinyl car decals, every step protects your investment and keeps your ride looking sharp.
Whether dealing with simple door stickers for cars or elaborate custom vehicle stickers, consistency in care and quick troubleshooting is key. Ready to protect your car's style? Start with these proven strategies and enjoy vibrant, durable decals for miles to come!


