Vinyl banners are versatile and eye-catching tools for promotion and decoration, commonly seen in bustling commercial events or cozy family gatherings. However, the right hanging methods are crucial to display them perfectly. This article will detail seven professional ways to hang vinyl banners, covering indoor and outdoor scenarios, with special tips for windy conditions in Las Vegas.
Tools You'll Need
(1). Grommets
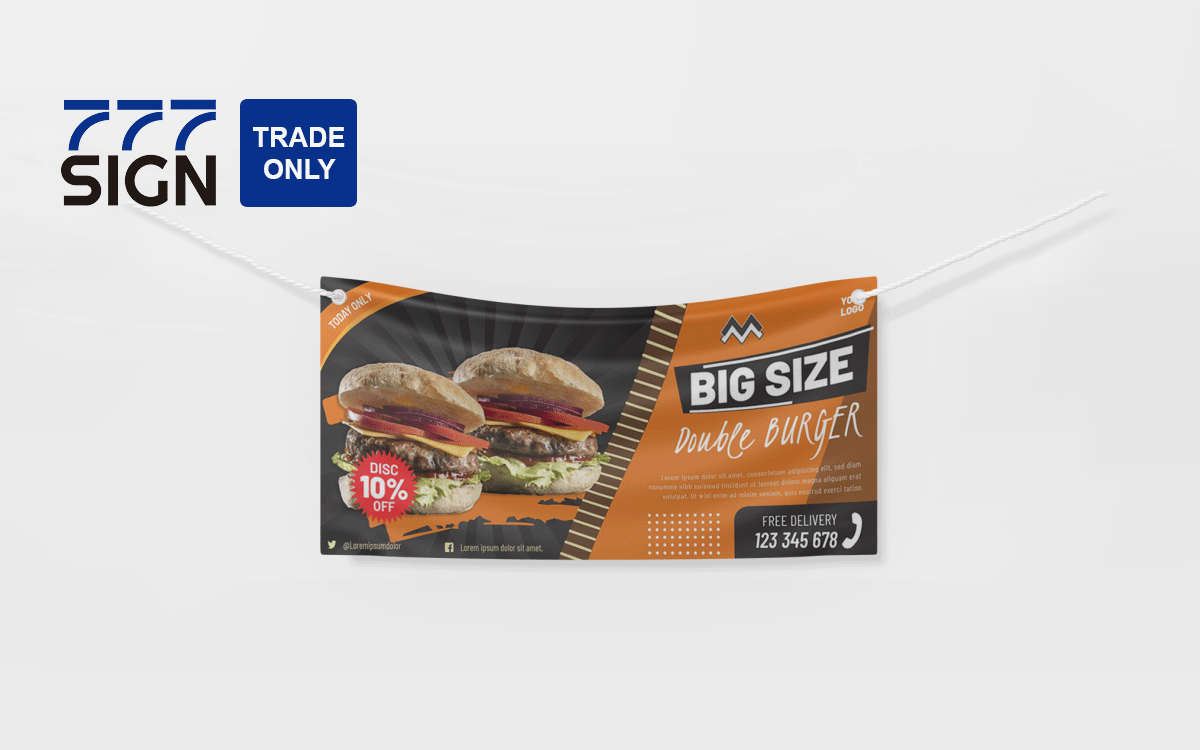
Grommets are metal rings installed on the banner's edge, reinforcing it and facilitating hanging. Available in materials like brass, nickel, and black oxide, they suit various environments and decorative styles. When purchasing, choose the appropriate size and material based on the banner's dimensions and hanging requirements. 777sign offers a wide range of grommet solutions, including customized options. Whether you need grommets installed on all four sides of the banner, just at the four corners, or on a single side, 777sign can meet your needs, ensuring your vinyl banner is durable and easy to hang.
(2). Bungee balls
Bungee balls consist of elastic ropes with round balls. They are often used for outdoor banner hanging. Their elasticity cushions the wind force in windy conditions, preventing the banner from damage due to pulling. Common sizes include 6 and 9 inches; you can select as needed.
(3). Zip ties
Typically made of sturdy nylon, zip ties feature a toothed flexible strap and a ratchet head, enabling firm binding and fixing. They securely connect the banner to the hanging structure when hanging banners and offer easy operation. They come in different sizes, strengths, and colors for various scenarios.
(4). Adhesive strips
Adhesive strips hang banners on smooth surfaces, providing convenience without leaving marks. Multiple types, such as regular strips for lightweight banners and heavy-duty ones for heavier ones, are selectable according to the banner's weight and wall material.
Grommet Method
The grommet method is a common and secure hanging approach, especially suitable for larger and heavier banners.
1. Preparation:
Determine the banner's hanging position and mark the punching points. Ensure even spacing to distribute the weight evenly when the banner is hung.
2. Install grommets:
Use a punching tool to create holes at the marked spots, then install the grommets and secure them tightly with the accompanying tools.
3. Select hardware:
Choose suitable hardware based on the hanging environment and banner weight. For windy outdoor conditions, opt for high-strength metal hooks and steel wires; regular plastic hooks or ropes suffice for indoor use.
4. Hang the banner:
Thread hooks or ropes through the grommets and fasten them to the hanging structure. Adjust the banner's position for a flat and aesthetic appearance.
(Insert step-by-step images of the grommet installation and banner hanging here)
No-Grommet Solutions
Try these methods if the banner lacks grommets or you prefer not to punch holes.
5. Adhesive hooks:
Adhesive hooks work well on smooth walls or surfaces. Clean the hanging area, peel off the hook's backing, press it firmly onto the wall for a few seconds, and wait for the adhesive to set before hanging the banner.
6. Banner tape:
Banner tape is a strong double-sided tape designed for hanging banners. Apply the tape evenly along the top and bottom edges of the banner, then press the banner firmly onto the hanging surface to ensure a tight fit.
7. Magnetic strips:
Magnetic strips are ideal when the hanging surface is metallic. Attach the strips to the banner's edge and stick the banner to the metal surface, allowing easy installation and removal.
Large Banner Hacks
For large banners, special techniques ensure stable hanging.
Using furring strips: Furring strips are thin wooden strips that increase the contact area between the banner and the hanging surface, distributing the weight evenly. Attach the strips to the back of the banner and then secure both to the hanging structure.
Standoffs:Standoffs create a 3D effect by keeping the banner away from the wall. Fix the standoffs to the wall and mount the banner on them, ensuring the standoffs can support the banner's weight.
Cross-bracing: Cross-bracing enhances banner stability, especially in windy conditions. Install a cross-bracing structure on the back of the banner and connect it to the hanging structure to improve wind resistance.
Surface-Specific Guides
Brick: Using expansion bolts or hook-equipped expansion tubes to hang a banner on a brick wall. Drill holes in the wall, insert the bolts or tubes and attach the banner to the bolts or hooks via grommets or other hanging accessories.
Stucco: Stucco walls are fragile, so exercise caution. Specialized stucco wall hooks can securely hang the banner without damaging the surface.
Chain-link fences: Zip ties or bungee balls are great choices for chain-link fences. Use these tools to bind the banner's edge to the fence tightly, keeping it flat and secure.
Wind Mitigation Tips (Ideal for Las Vegas Desert Gusts)
These windproofing tips are essential in Las Vegas' desert region, where gusts are frequent.
Choose the right location: Choose sheltered spots, such as the leeward side of buildings, behind trees, or other obstacles.
Reinforce the fixing: Use sturdier hanging materials and accessories, such as thickened steel wires and high-strength hooks. Increase the number of fixing points to distribute wind force.
Install windproof devices: Sandbags or other heavy objects can be added to the banner's bottom to reduce the chance of it being blown up. Windproof struts can also be installed to enhance stability.
Mistakes to Avoid
Over-tightening: Over-tightening hanging ropes or accessories may deform or damage the banner. Tighten moderately to keep the banner flat and secure.
UV damage to hardware: When hanging banners outdoors, prolonged UV exposure can age and damage the hardware. Select UV-resistant hanging materials and accessories, or regularly inspect and replace the hardware.
Need a perfect banner installation? The best way is to use grommets; you can't go wrong with 777sign! Our installation methods are efficient and quick, saving time and effort. With 15 years of experience, we're experts at installing grommets for vinyl banners, ensuring they are secure and durable. Don't hesitate any longer. Click to place your order and experience the convenience of grommet installation!
FAQs
Q1: How do I hang a vinyl banner on a wall?
For secure mounting, use grommets with zip ties or bungee cords. For smooth walls, apply heavy-duty banner tape or adhesive hooks. Use masonry anchors on brick or stucco.
Q2: How do I add grommets to a vinyl banner?
Mark points 2 "from edges (space 18–24 "apart).
Cut X-shaped holes.
Insert grommet halves; hammer until sealed.
Always reinforce corners for large banners.
Q3: How do I hang a large vinyl banner (10ft+)?
• Thread a PVC pipe through grommets to distribute weight.
• Add wind slits or bungee cords in windy areas.
• Never exceed 20ft without professional rigging.


